
If your iPad screen is cracked or unresponsive, you have three realistic paths: a DIY parts kit, a trusted local repair shop, or Apple’s authorized service. Choose DIY only if the damage is glass-only and you have real repair skill. Choose Apple or an authorized provider when you need to preserve Face ID, Touch ID, or active AppleCare coverage. For most other cases, a reputable local shop like Mobile Care gives you speed, a written warranty, and a lower price than Apple.
TL;DR:
- DIY repair is only suitable for glass damage on models with separated digitizers and requires careful matching of parts to avoid damaging flex cables.
- Local shops usually offer same-day repairs with warranties, making them a safer and faster alternative to DIY or Apple servicing, especially for urgent needs.
- Replacing only the digitizer fixes touch issues but does not address LCD damage, which requires a full display assembly on many iPad models.
- AppleCare and preserving Face ID or Touch ID features significantly increase repair costs at Apple or authorized providers, which offer guaranteed original parts.
- Proper post-repair testing of touch, display, cameras, and sensors is crucial to ensure full functionality before sealing and using the repaired device again.
Table of Contents
- Quick options and typical costs for fixing an iPad screen
- Digitizer-only glass versus full display assembly: what you’re actually buying
- DIY iPad screen replacement: tools, steps, and where it goes wrong
- What to expect from a professional iPad repair
- Confirming the repair actually worked: post-repair testing
- Disposing of a broken iPad screen responsibly
- Matching your situation to the right repair route
- How Mobile Care gets your iPad screen fixed fast
- Sources
- FAQ
Quick options and typical costs for fixing an iPad screen
Cost, speed, and risk vary a lot depending on which route you take, and the right pick often comes down to how much your time and warranty coverage are worth to you.
DIY parts and kits are usually the cheapest upfront option, but pricing swings widely by iPad model and part quality, and there’s real risk in ordering the wrong component. A digitizer-only kit for an older iPad costs less than a full display assembly for a newer Pro model, and the price difference reflects genuine complexity, not just brand markup.
Third-party repair shops sit in the middle. You pay for labor and a tested part, but you skip the guesswork of sourcing components yourself and get a warranty on the work. Apple and authorized service providers sit at the top of the price range, though Apple’s official repair process offers express replacement and reduced costs for AppleCare holders.
Turnaround also differs sharply between routes:
- DIY repair takes an afternoon at minimum once parts arrive, plus days of shipping time if you don’t already have the part in hand.
- Local shop repair is often same-day, sometimes finished within an hour depending on the shop and model.
- Apple or authorized mail-in service typically takes several business days, though in-person Genius Bar appointments can be faster when parts are in stock.
Before you commit to any option, run through a short checklist: Do you have AppleCare or need to keep it active? Does the repair need to preserve Face ID or Touch ID? Do you have the tools and patience for a multi-hour teardown? Can you afford several days without your iPad? And what’s the true out-the-door price once you add tax, shipping, and any calibration step? Answering those five questions narrows the decision faster than comparing sticker prices alone.
Digitizer-only glass versus full display assembly: what you’re actually buying
“Screen replacement” means different things depending on the part you order, and getting this wrong is the single most common reason DIY repairs go badly.
A digitizer is the front glass layer combined with the touch-sensing circuitry. It handles cracked glass and unresponsive touch, but it doesn’t include the LCD or OLED panel underneath. A display assembly bundles the digitizer with the actual screen panel, and on many iPad models it also includes small components like the ambient light sensor or a microphone.
iFixit’s parts catalog separates these two part types by model, and it explicitly flags which components each part includes or omits. That distinction matters because some iPad families let you swap glass alone, while others ship only as an integrated assembly where a cracked corner means replacing the whole display.
One statistic worth knowing: iFixit’s teardown guides note that some replacement screens omit the ambient light sensor, magnets, or microphone entirely, which means True Tone and auto-brightness can stop working until you run Apple’s calibration tool.
How do you know which part you need? Match the symptom to the part type:
- Touch fails but the image looks normal: a digitizer-only part is often sufficient on models that separate the layers.
- Lines, flicker, dark spots, or no image at all: you need a full display assembly, since the panel itself is damaged.
- Both touch and image are affected: replace the full assembly regardless of model, since a partial fix won’t resolve either problem reliably.
Before ordering, check the listing for phrases like “includes sensors,” “includes daughterboard,” or “preinstalled cables,” and confirm the part matches your exact model number (the Axxxx code on the back of your iPad, not just the generation name). A part built for the wrong sub-model can fit physically but fail electronically.
DIY iPad screen replacement: tools, steps, and where it goes wrong
DIY repair can save money, but it demands patience, the right tools, and a tolerance for risk that not everyone has. Here’s the realistic step flow, followed by the tools you’ll need and the mistakes that cause the most damage.
- Back up your data and remove your passcode. This protects your files if something goes wrong and avoids activation lock issues later.
- Heat the edges of the screen using an iOpener or a hair dryer on low heat to soften the adhesive without overheating the battery underneath.
- Separate the digitizer or display carefully with a suction cup and opening picks, working slowly around the perimeter rather than forcing any one section.
- Transfer paired components such as the home button, cameras, or sensor cables to the new part, since many replacements don’t include them.
- Reconnect everything and test before sealing anything with adhesive, checking touch response, display image, and biometric features first.
- Calibrate using Apple’s Repair Assistant if True Tone or auto-brightness doesn’t activate automatically after reassembly.
You’ll need a heat source, a suction cup, a set of opening picks or wedges, Torx and JIS screwdrivers, tweezers, replacement adhesive strips, an ESD mat, high-concentration isopropyl alcohol for adhesive residue, and protective eyewear for handling cracked glass.
Pro Tip: Tape over cracked glass before you start prying, so shards stay contained if a section breaks further during removal.
Model-specific cautions matter here. On iPads with a physical home button, that button’s Touch ID sensor is paired to the logic board, and it has to be transferred intact or Touch ID stops working permanently. On Face ID models, the True Depth camera assembly is delicate and easily damaged if you pry too deep near the top bezel. Ribbon cables tear if you pull at an angle instead of lifting straight up, and some replacement parts simply don’t include magnets or microphones that the original had.
The most common DIY failure points, in order of frequency: ordering the wrong part for your exact model, tearing a flex cable while separating the display, applying adhesive unevenly and leaving gaps that let in dust or moisture, forgetting to transfer a paired biometric component, and skipping calibration so True Tone or auto-brightness never comes back online. Each one is avoidable with patience, but each one also explains why professional repair remains the safer default for most people.
What to expect from a professional iPad repair
A reputable repair shop follows a fairly consistent workflow, whether it’s a local storefront or an Apple Authorized Service Provider. The technician identifies your model and checks whether it’s covered under AppleCare or another warranty, inspects the actual damage, and provides a written estimate before touching the device. Once you approve the work, they perform the repair, run functional tests, and hand you warranty documentation.
Before you agree to any repair, verify a few things:
- Warranty length and exclusions, in writing, not just a verbal promise.
- Whether the part is genuine or aftermarket, since that affects both price and long-term reliability.
- Whether calibration and sensor transfers are included in the quoted price, not billed separately afterward.
- Whether the quote already covers tax, shipping, and testing, so there’s no surprise at pickup.
Apple or an authorized provider makes the most sense when you have active AppleCare, need express replacement, or require guaranteed original-part compatibility for warranty reasons. A reputable local shop is the better call when speed and cost matter more, and same-day turnaround is available. Mobile Care’s repair services complete most repairs same-day, often in 30 to 45 minutes, which is considerably faster than a typical mail-in repair cycle.
| Route | Typical turnaround | Warranty offered |
|---|---|---|
| DIY parts/kit | Hours to days, depending on shipping | None beyond the part seller’s return policy |
| Local repair shop | Often same-day | Shop-specific written warranty |
| Apple/authorized service | Days for mail-in, faster in-person | Apple’s stated repair warranty, extended under AppleCare |
Confirming the repair actually worked: post-repair testing
A screen that looks fine isn’t the same as a screen that’s fully functional. Run through this checklist before you consider the repair finished, whether you did it yourself or picked it up from a shop.
- Test touch responsiveness across the full screen, including corners and multi-touch gestures.
- Check display uniformity for dead pixels, discoloration, or flickering lines.
- Confirm the front and rear cameras focus and capture correctly.
- Test the microphone and speakers with a voice memo or call.
- Plug in a charging cable and confirm the port registers a connection.
- Move between a dark and bright room to confirm the ambient light sensor adjusts auto-brightness.
- Check whether True Tone is available in Display settings.
- Test Face ID or Touch ID, depending on your model.
If your iPad uses a genuine Apple part but True Tone or auto-brightness didn’t activate, go to Settings, then General, then About, then Parts & Service History, and run Restart & Finish Repair to trigger Apple’s calibration process.
Pro Tip: If any test fails, document it with photos or video immediately and don’t let anyone reseal the adhesive until the issue is resolved in writing.
If something doesn’t pass, don’t seal the device shut. Return to the shop right away and request remediation in writing rather than accepting a verbal fix-it-later promise.
Disposing of a broken iPad screen responsibly
A cracked screen or a swapped-out display assembly counts as electronic waste, and it shouldn’t go in a household trash bin. Glass, circuitry, and any attached battery components contain materials that aren’t meant for landfills, and several regions restrict e-waste disposal by law.
Most repair shops, including many local electronics retailers, accept broken screens and old device parts for recycling, often at no charge. Apple also runs its own recycling program for devices and components. If you replaced the screen yourself, check with your municipal waste authority or a certified e-waste recycler before tossing the old part, since improper disposal can carry fines in some areas.

If your old iPad is otherwise functional but you’re upgrading, consider a trade-in or resale program instead of discarding it entirely. Even a cracked-screen iPad often retains resale value for parts, and several retailers and manufacturers offer credit for devices in that condition. Keeping usable electronics out of the waste stream is a small step, but it’s one worth taking before you toss anything in a bin.
Matching your situation to the right repair route
If you’re comfortable with a screwdriver and patient enough to follow a multi-hour guide, DIY repair works well for glass-only cracks on models that separate the digitizer from the display. It’s the cheapest path, but only when the damage matches that specific profile.
For most readers, a professional local shop is the better trade. You get same-day speed, a written warranty, and a price that beats Apple without the risk of a torn ribbon cable or a lost Touch ID sensor. Choosing a shop over DIY isn’t settling. It’s trading a few hours of risk for a guaranteed result.
Apple or an authorized provider earns its higher price when you have active AppleCare, need guaranteed original parts, or can’t afford any uncertainty around biometric functionality. Match your situation to the route, not the other way around.
— SS
How Mobile Care gets your iPad screen fixed fast
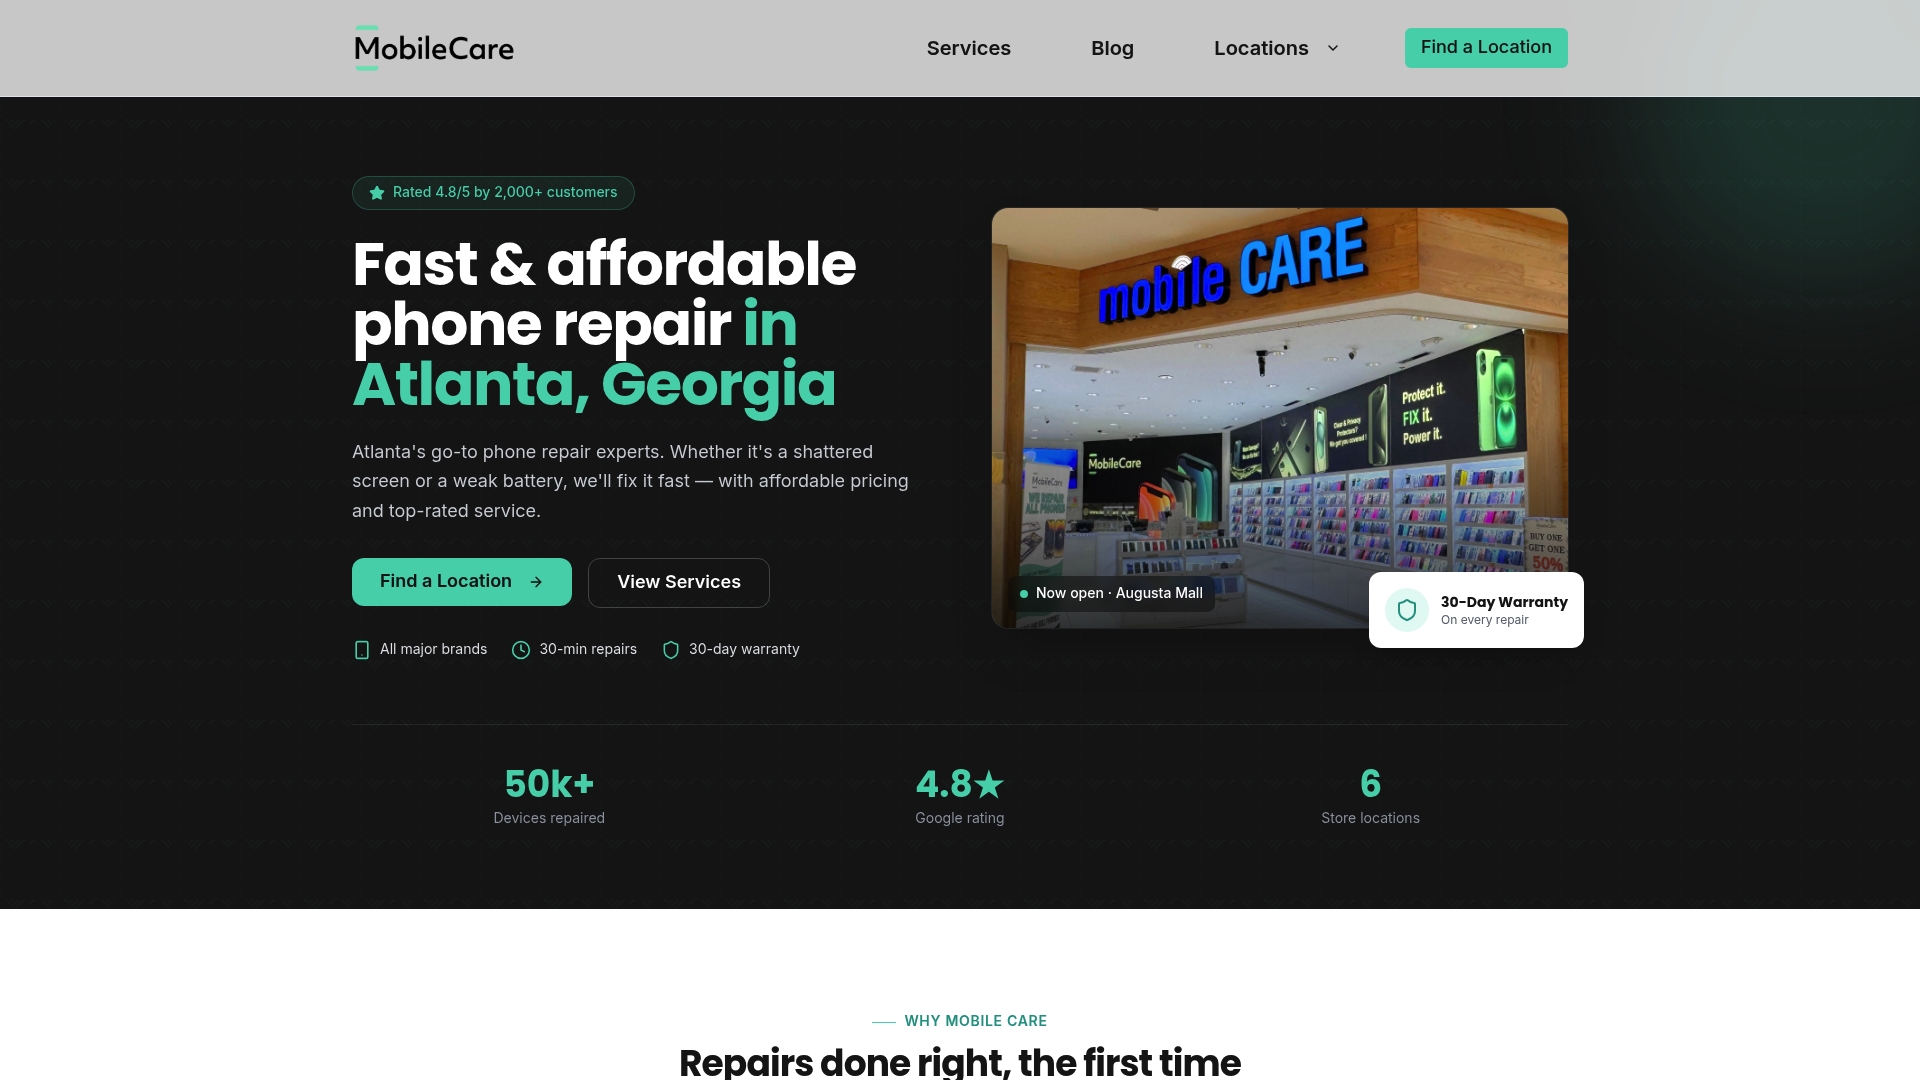
Every repair comes with a written estimate before any work begins, and a warranty backs the work once it’s done. That combination has helped build a strong positive rating from many customers.
Booking is straightforward:
- Bring your iPad and, if possible, back up your data beforehand.
- Visit a nearby location, such as Augusta Mall or Carolina Place Mall, for an in-person estimate.
If a cracked screen is slowing you down, get an estimate at your nearest Mobile Care location today.
Sources
For official policy on repair options, coverage, and express replacement, Apple’s support page is the primary reference. For part-level detail, including which components a given screen replacement includes, iFixit’s parts catalog and its model-specific guides remain the most thorough resource available to DIY repairers.
FAQ
How much does it usually cost to replace the screen on an iPad?
Cost depends heavily on whether you choose a DIY part, a local repair shop, or Apple’s authorized service, with DIY parts typically the least expensive and Apple’s service the most expensive. Mobile Care offers transparent pricing with a written estimate before any work begins; check the services page for current details on your model.
Is it worth fixing a broken iPad screen?
For most iPads still in regular use, repairing the screen is worth it since the device retains full functionality and resale value once fixed. The exception is a device already showing other hardware problems, where a full replacement might make more financial sense than repeated repairs.
What’s the difference between a digitizer replacement and a full display replacement?
A digitizer replacement fixes cracked glass and touch response, while a full display assembly replacement also addresses the LCD or OLED panel underneath. iFixit’s guides show which iPad models allow digitizer-only repairs and which require a full assembly swap.
Will replacing my iPad screen affect Face ID or Touch ID?
It can, if the replacement part doesn’t include the original paired sensor or if the technician doesn’t transfer it correctly during the repair. On models with a home button, Touch ID is paired to the logic board and must be handled carefully to preserve that pairing.
How long does a professional iPad screen repair take?
A reputable local shop often completes the repair same-day, sometimes within an hour, while Apple’s mail-in service typically takes several business days. Mobile Care completes most repairs in 30 to 45 minutes using certified technicians, according to its service listings.