
If your iPhone is stuck updating, the fastest reliable fix is to delete the cached update file and restart, then re-download it on stable Wi-Fi. A corrupted installer or insufficient temporary storage is the most common cause of a frozen update. If that doesn’t clear it, work through the quick fixes below: check your network, restart your phone, and free up storage before trying anything more advanced.
TL;DR:
- Using a wired connection via a computer can bypass persistent OTA download issues caused by network instability or device storage problems.
- Deleting the downloaded update and re-downloading it ensures a clean installer, which often resolves verification errors linked to corrupt files.
- Freeing 6 to 8 GB of storage before updating is crucial, since major iOS updates need that much space to download and unpack properly.
- Updating during off-peak hours and disabling VPN or Private Relay can reduce server congestion and improve update speed.
- In cases of hardware suspicion, professional diagnostics are recommended, especially if connection errors persist across multiple computers or port damage is visible.
Table of Contents
- Quick fixes to try first
- Delete the downloaded update and try again
- Update using a computer instead of Wi-Fi
- Recovery mode and DFU mode: what they do and when to use them
- Server congestion and network timing issues
- When to get professional help
- The right order of operations when an update won’t finish
- How Mobile Care can help with stubborn update problems
- Sources
- FAQ
Quick fixes to try first
Most stuck updates respond to a handful of simple adjustments, and trying them in order saves time before you move to anything more involved.
- Check your Wi-Fi connection. Connect to a stable 5 GHz network when possible, turn off any VPN or iCloud Private Relay, and try a different network if your current one seems slow or overloaded.
- Plug into power and disable Low Power Mode. Updates draw on processing and background tasks that Low Power Mode restricts, so plug in and switch it off before you start.
- Keep the screen awake during download. Tap the screen occasionally or adjust your Auto-Lock setting so the download does not pause mid-process.
- Force restart your iPhone. On Face ID models, press and quickly release Volume Up, then Volume Down, then hold the Side button until the Apple logo appears. On models with a Home button, hold both the Home and Side (or Top) buttons together until the logo shows.
- Free up 6 to 8 GB of storage. Offload unused apps, delete large videos, or clear old message attachments in Settings, since major updates need that much free space to download and unpack, according to Apple Support.
- Force-quit Settings and resume the update. If the screen shows “Paused” or sticks on “Preparing Update,” close the Settings app completely, reopen it, and go back to General, then Software Update to resume.
A stalled “Preparing Update” screen often clears the moment enough storage opens up, since the device needs working room to unpack the installer before it can verify and apply it.
Pro Tip: Plug your iPhone into power overnight on a strong Wi-Fi connection. Many updates that stall during the day complete without issue once network and power demands drop.
Delete the downloaded update and try again
When an iPhone sticks on “Preparing” or “Verifying,” the installer file itself is often the problem rather than your network or hardware. Deleting it and starting fresh clears out a corrupted package and frees the temporary space the update process needs.
- Open Settings, then tap General, then iPhone Storage.
- Scroll down and tap the listed iOS update.
- Tap Delete Update, then confirm.
- Restart your iPhone and reconnect to Wi-Fi.
- Go back to Settings, then General, then Software Update to re-download the installer from scratch.
This approach works because a partially downloaded or damaged file will keep failing verification no matter how many times you retry, while a clean re-download gives the update process a fresh start. Apple Support recommends keeping 6 to 8 GB free for major iOS updates, so clear extra space first if your storage is tight.
Update using a computer instead of Wi-Fi
When an update fails over and over through OTA (over-the-air) downloads, switching to a wired update through a computer often succeeds where wireless attempts keep stalling. This method is worth trying when you have limited device storage, repeated verification errors, or an iPhone that gets stuck at the same percentage every time.

On a Mac running macOS Catalina or later, open Finder, connect your iPhone with a cable, unlock the device and tap Trust if prompted, then select your iPhone in the Finder sidebar and click Check for Update, followed by Download and Update. On Windows, use the Apple Devices app (or iTunes on older systems) and follow the same sequence: connect, trust, select your device, then check for and install the update, as outlined by Apple Support.
A few checks before you start can make the process smoother:
- Update macOS or iTunes to the latest version before connecting your iPhone.
- Use an official or Apple-certified cable, since third-party cables are a common cause of connection drops.
- Try a different USB port, and a different computer if one is available.
- Temporarily disable third-party antivirus or firewall software, which can block the connection during the update.
One in three stalled computer updates traces back to a cable, port, or security software conflict rather than the update file itself, according to Apple Support’s error guidance, which lists codes like 4005, 4013, and 4014 as signs of a connection or hardware issue rather than a software failure. If you see one of these codes, update iTunes or the Apple Devices app first, then switch USB ports, and try another computer if the problem persists.
Recovery mode and DFU mode: what they do and when to use them
Recovery Mode and DFU (Device Firmware Update) mode are last-resort tools, not first steps, and understanding the difference between an Update and a Restore matters before you touch either one. An Update installs the new iOS version while keeping your data intact. A Restore reinstalls iOS from scratch and erases everything on the device, so always attempt an Update first.
- Back up your iPhone to iCloud or a computer before attempting Recovery or Restore, since Restore wipes all content.
- Connect your iPhone to a computer and open Finder or the Apple Devices app.
- Enter Recovery Mode using the device-specific button sequence (force restart steps, but hold the final button until the recovery screen appears instead of releasing at the Apple logo).
- Choose Update when prompted, which attempts to reinstall iOS without erasing data; only choose Restore if Update fails.
- Try DFU mode only if Recovery Mode fails, since DFU performs a deeper, firmware-level reinstall and carries more risk if interrupted. A partner guide on Recovery Mode offers useful background on how these recovery states work and when each one applies.
If your iPhone repeatedly enters Recovery Mode without completing, or a computer stops recognizing it altogether, Apple Support notes that the device may need professional service rather than another attempt at home.
Pro Tip: Confirm your backup finished successfully before starting Recovery Mode. A rushed or incomplete backup is the single biggest cause of lost photos and messages during this process.
Server congestion and network timing issues
Sometimes the problem has nothing to do with your iPhone at all. On launch days, Apple’s servers handle enormous download traffic, and that congestion can leave your device stuck on “Preparing Update” for an extended period.
- Check Apple’s System Status page for any listed outages or performance issues with software update services.
- Try updating during early morning or late evening hours, when server traffic tends to be lighter.
- Turn off any VPN or Private Relay connection, since these can route your download through slower or congested paths.
- Disable Low Data Mode in your Wi-Fi settings, since it can throttle large downloads.
- Switch your router from a 2.4 GHz band to 5 GHz if your device supports it, since the faster band reduces timeout risk on large files.
A quick status check before you spend another hour troubleshooting can save you the trouble of retrying a fix that was never going to work.
When to get professional help
Some stuck updates point to a hardware problem rather than a software glitch, and recognizing the warning signs early saves you from repeating fixes that will not work.
- Your iPhone shows repeated USB connection error codes during a computer update.
- Multiple computers fail to recognize the device when connected.
- The charging port shows visible damage, lint buildup, or corrosion.
- The device keeps entering Recovery Mode on its own after a failed update attempt.
A technician will typically test the charging port and cable, check battery and charging performance, inspect the logic board for visible damage, and attempt a restore on a dedicated workstation to rule out a computer-side issue. Our guide to choosing an iPhone repair service walks through what a thorough diagnostic visit looks like. Before you go in, back up what you can, write down every fix you have already tried, and note the exact error codes or messages you saw, since that detail speeds up diagnosis considerably.
The right order of operations when an update won’t finish
After years around devices that refuse to cooperate, the pattern holds up: preserve your data first, then work from the least destructive fix to the most. Deleting the update file and trying a wired computer update solves the overwhelming majority of stalls, and a full Restore should be the last option you reach for, not the first. Most stalled updates we see never require a hardware repair at all, but when a device keeps bouncing into Recovery Mode or a port looks damaged, that is exactly when a same-day diagnostic earns its keep.
— SS
How Mobile Care can help with stubborn update problems
A stuck update that survives every fix usually points to a charging port, cable, or battery issue, and that is where in-person diagnostics save you time. Mobile Care checks the hardware side of the problem, including charging port function, battery health, and software restore attempts, so you are not stuck guessing between a loose cable and a failing component.
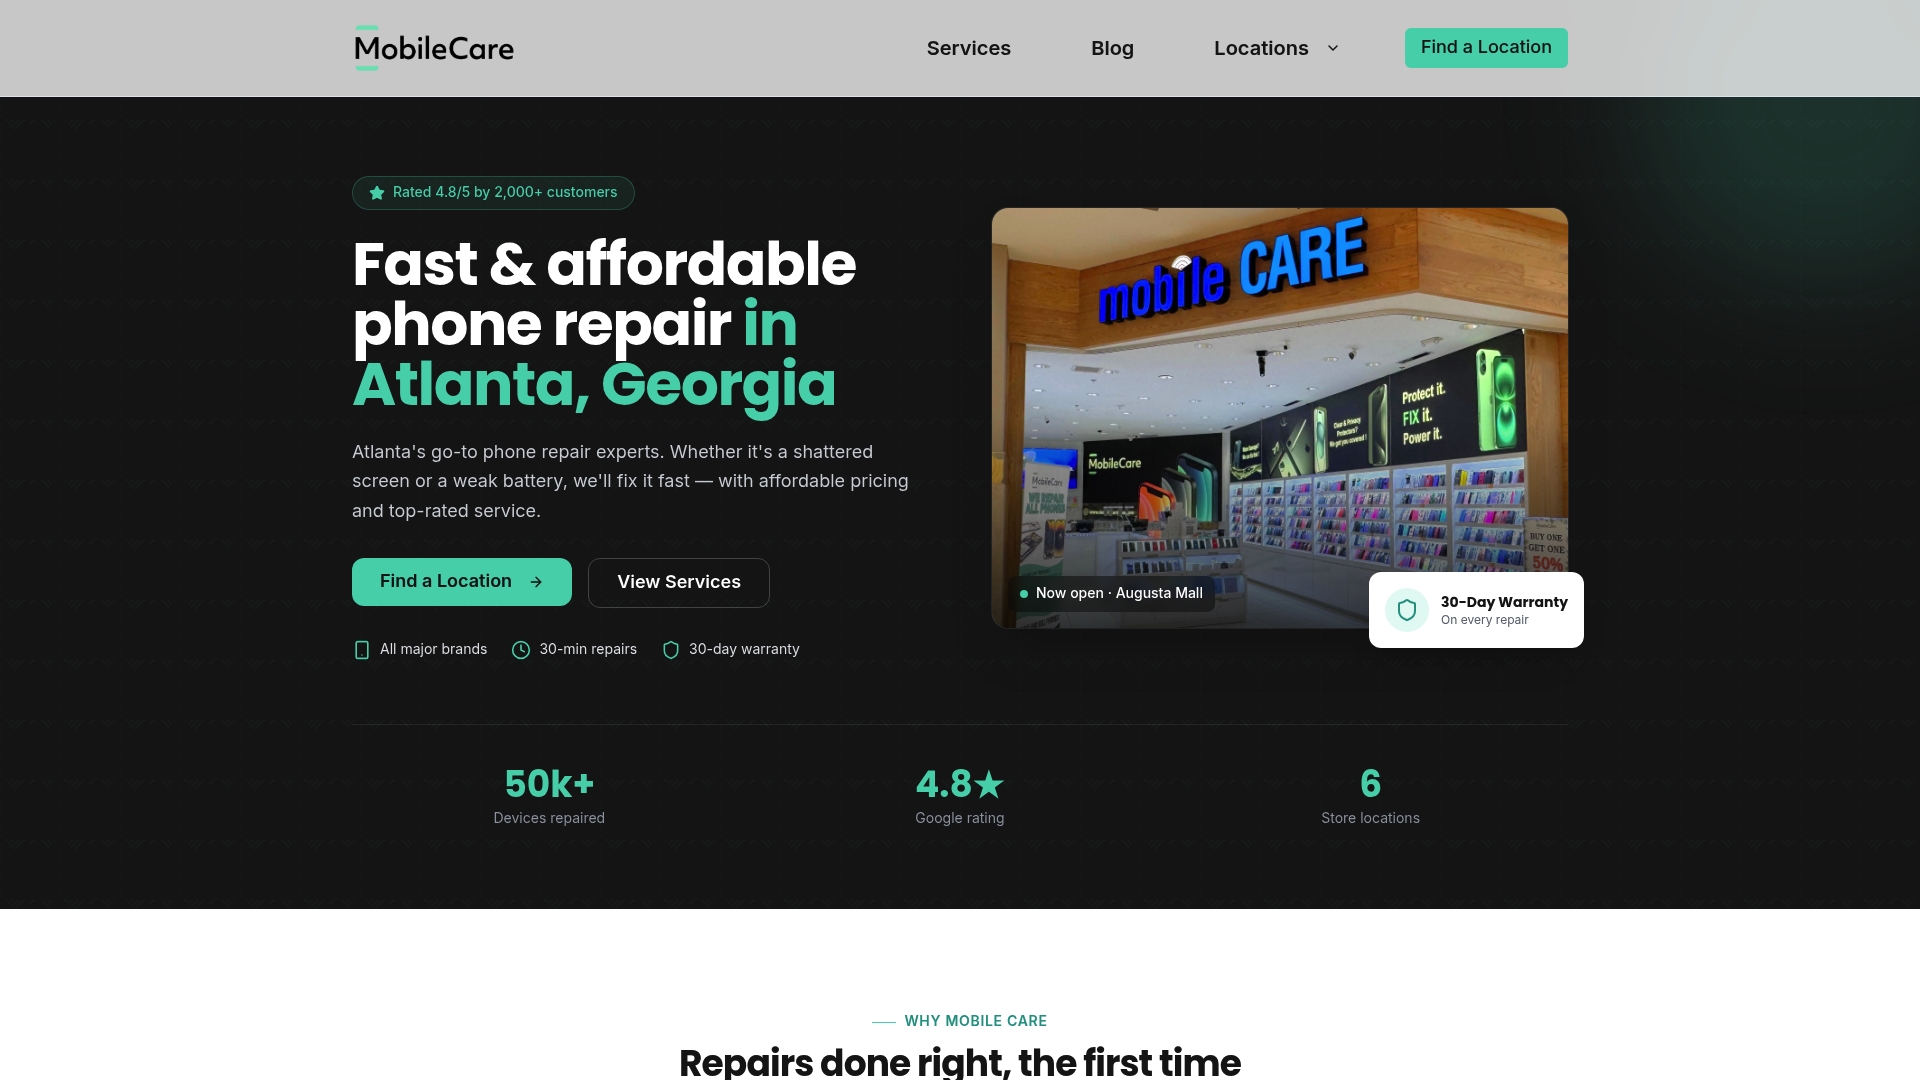
Many repairs can be completed the same day, often within 30 to 45 minutes, using quality-tested parts and backed by a warranty. Our service catalog covers diagnostics, charging port repair, battery replacement, and software issue fixes for exactly these situations.
- Bring your device along with a note of every fix you already tried.
- Mention any exact error codes or messages you saw during the update.
- Visit a convenient location, including Cumberland Mall or Perimeter Mall, for a same-day diagnostic and repair.
Sources
FAQ
Why is iOS 26 taking so long to install?
Large iOS releases take longer when server traffic is high, device storage is tight, or the Wi-Fi connection is unstable. Checking Apple’s System Status page and freeing up storage before you start often shortens install time considerably.
Why does the latest iPhone update get stuck?
An iPhone update usually sticks because of a corrupted installer file, low available storage, or an interrupted network connection. Deleting the downloaded update in Settings, under General and then iPhone Storage, and re-downloading it on stable Wi-Fi resolves the issue in most cases, according to Apple Support.
Is it possible to undo an iOS update?
Apple does not support downgrading to a previous iOS version once an update installs, though a Restore through Finder or the Apple Devices app can reinstall the current version if the update itself failed. A Restore erases all data on the device, so back up first, as Apple Support explains in its Recovery Mode guidance.
Why is it taking forever to update my iPhone?
Slow updates typically come down to weak Wi-Fi, low storage, or server congestion during high-traffic periods right after a release. Switching to a 5 GHz network, freeing up 6 to 8 GB of storage, and trying again during off-peak hours usually speeds things up, per Apple Support.